
Setting up a network printer can streamline your workflow, whether at home or in the office. This guide provides clear instructions for both Windows and macOS users, ensuring a smooth setup process.
Many face challenges when adding a new device to their system. Common issues include detection failures or driver installation errors. Our troubleshooting tips help resolve these problems quickly.
This discussion overlaps with ultimate building gaming setup, especially for readers comparing connecting printer with similar issues.
From automated detection to manual configurations, we cover all methods. You’ll learn to locate printers on a network, install drivers, and verify connections with test prints.
Prerequisites for Connecting a Network Printer
Proper preparation ensures seamless integration of your device into the existing network. Skipping these steps may lead to detection errors or failed installations.
Check Printer and Network Compatibility
First, verify both your printer network and computer use the same frequency band. Modern printers often support 2.4GHz and 5GHz Wi-Fi, but mismatched bands cause connection failures.
For wired setups, inspect the Ethernet cable’s status lights. A solid green light indicates a stable connected network.
“Always download drivers from the manufacturer’s website. Default OS drivers may lack critical features.”
Gather Necessary Information
Locate your printer’s IP address through its menu system. Brands like HP or Epson use unique button sequences—refer to the manual if needed.
Pro tip: Bookmark the manufacturer’s support page for quick access to drivers and firmware updates.
- Confirm firewall permissions for the printer network.
- Make sure printer firmware is up-to-date.
- Place the device within Wi-Fi range for optimal performance.
How to Connect a Network Printer to a Computer?
Windows offers two reliable methods for adding a printer: automatic detection or manual configuration. Choose the approach that matches your device’s compatibility and your technical comfort level.
Automatically Detect Your Printer
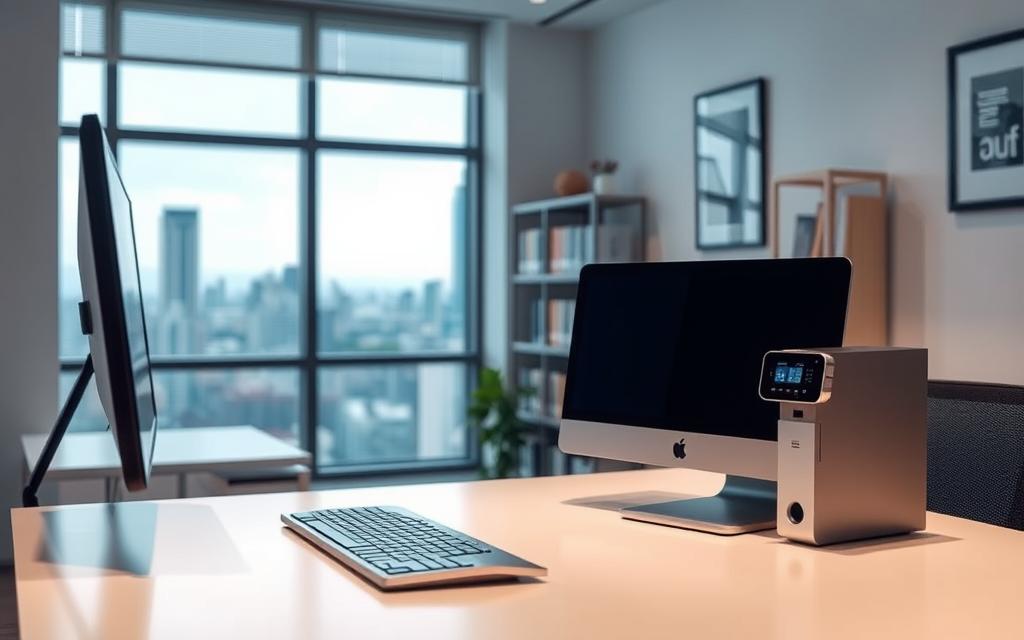
For most users, automatic detection is the fastest way to add printer units. Navigate to Settings > Devices > Printers & Scanners, then click Add a Printer or Scanner.
Windows will scan the network and display available devices. Select your model from the list and follow prompts to install drivers. If the printer isn’t found, ensure it’s powered on and connected to the same network.
Manually Add a Printer Using TCP/IP
For advanced setups, use the TCP/IP method. Open Printers & Scanners, click Add Manually, and enter the IP address (e.g., oit-printgen.ad.umn.edu).
Choose between Windows default drivers or manufacturer-provided ones for optimal performance. PostScript drivers suit graphic-heavy prints, while PCL excels in text documents.
“Always verify the IP address via the printer’s menu. Incorrect entries trigger ‘Device not found’ errors.”
- Steps to resolve failed detection: Restart the spooler service or check firewall settings.
- Enterprise tip: Name printers scanners by location (e.g., “Finance_HP_LaserJet”).
Setting Up a Network Printer in Different Windows Versions
Microsoft’s OS updates bring changes to printer installation workflows. Whether you use Windows 10, 11, or 8, the steps to add a device vary. Below, we break down each version’s process.
Windows 10: Step-by-Step Installation
For Windows 10, open Settings > Devices > Printers & Scanners. Click Add a printer or scanner to auto-detect your device. If it fails, select The printer I want isn’t listed.
Choose TCP/IP for manual entry. Input the IP address and install drivers from the manufacturer’s site for full functionality.
“Windows 10 may default to basic drivers. Always check for model-specific updates.”
Windows 11: Navigating the Updated Settings
Windows 11 consolidates printer settings under Settings > Bluetooth & devices > Printers & scanners. The add printer scanner option remains similar, but the UI is streamlined.
Enterprise users can deploy printers via Group Policy. Use printui.exe /ga in Command Prompt for bulk installations.
| Feature | Windows 10 | Windows 11 |
|---|---|---|
| Settings Path | Devices > Printers | Bluetooth & devices |
| Auto-Detect | Yes | Enhanced |
| GPO Support | Yes | Expanded |
Windows 8: Legacy Control Panel Method
In Windows 8, press Windows+X and select Control Panel > Devices and Printers. Click Add a printer and follow prompts. Older systems may require manual driver downloads.
For registry tweaks, navigate to HKEY_LOCAL_MACHINESOFTWAREMicrosoftWindows NTCurrentVersionPrintConnections to manage connections.
- Troubleshoot detection issues by restarting the print spooler.
- Name devices clearly (e.g., “HR_Printer”) for easy identification.
Connecting a Network Printer on macOS
Apple’s macOS provides a streamlined approach for integrating printers scanners into your workflow. Whether you use an AirPrint-compatible model or a wired device, the process is intuitive. Follow these steps to ensure seamless printing.
Using System Preferences to Add a Printer
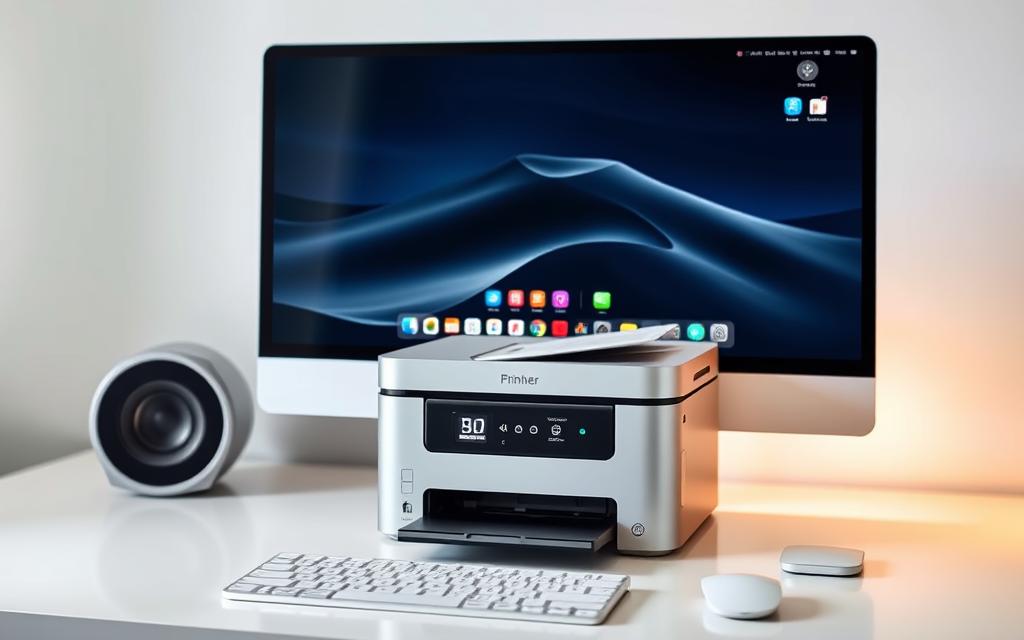
Navigate to Apple menu > System Preferences > Printers & Scanners. Click the + button to add device options. Your Mac will auto-detect available printers via Bonjour.
For manual setup, enter the printer’s IP address and select a protocol:
- IPP (recommended for modern devices)
- LPD (for legacy systems)
- DNS-SD (for zero-configuration networks)
“Always download drivers from the manufacturer’s website. macOS defaults may lack advanced features like duplex printing.”
Troubleshooting Detection Issues
If your macOS fails to connect printer units, check these:
- Ensure the printer is on the same network.
- Verify firewall permissions under System Preferences > Security.
- Access the CUPS web interface (
localhost:631) for advanced configurations.
For enterprise networks, consult your IT admin to adjust security profiles. Older system versions (Catalina/Big Sur) may require driver updates.
Advanced Network Printer Configuration
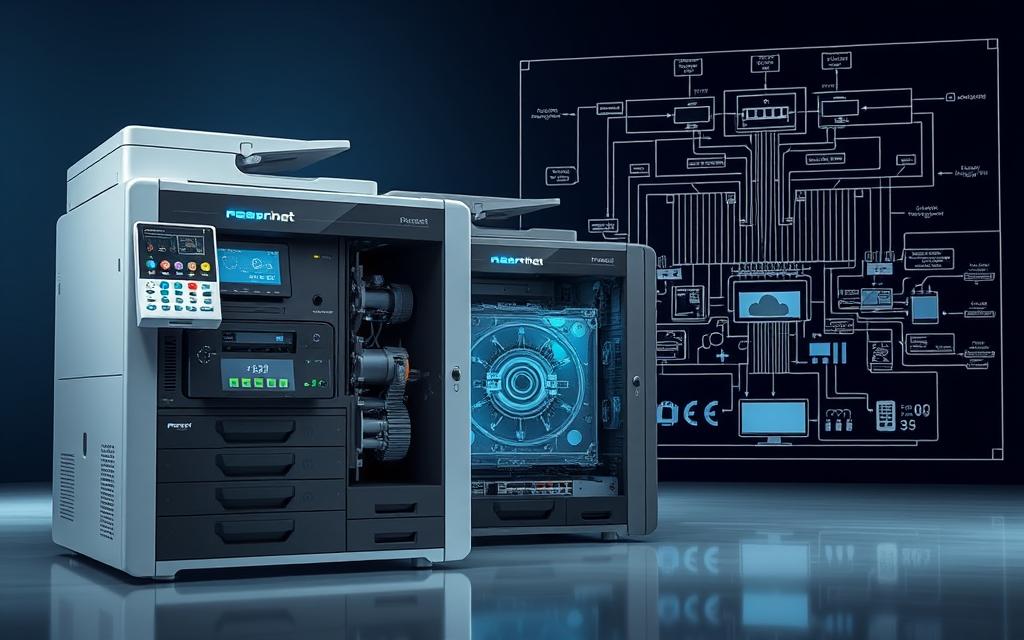
Optimizing your printing setup unlocks powerful features for team collaboration. Fine-tuning settings ensures seamless access across devices while maintaining security. Below, we explore sharing permissions and driver management.
Sharing Your Printer Across a Network
To share printer access with colleagues or household members:
- Open Printer Properties via Control Panel or Settings.
- Navigate to the sharing tab and check Share this printer.
- Assign a recognizable name (e.g., “Marketing_ColorPrinter”).
For enterprise environments, restrict access via user permissions. Admins can define groups in Active Directory to control printing privileges.
“Always enable network discovery in Network and Sharing Center before sharing. Hidden networks block device detection.”
Updating Drivers from the Manufacturer Website
Outdated drivers cause compatibility issues. Follow these steps:
- Visit the manufacturer website (HP, Epson, etc.).
- Search for your model’s latest driver package.
- Download and run the installer, restarting your computer afterward.
Automated tools like HP Smart Update simplify the process. Avoid Windows Update for drivers—they often lack critical fixes.
| Driver Source | Pros | Cons |
|---|---|---|
| Manufacturer Site | Latest features, security patches | Manual updates required |
| Windows Update | Automatic | Delayed releases, basic functionality |
For further guidance on permissions, refer to this network printer sharing guide.
Conclusion
Successfully integrating a network printer relies on key factors: compatibility checks, updated drivers, and stable connections. Follow these steps to avoid common pitfalls and ensure smooth operation.
For persistent issues, contact manufacturer support for model-specific instructions. Complex network problems may require IT assistance. Regular maintenance—like firmware updates and test prints—keeps performance optimal.
Future-proof your setup by adopting modern wireless standards like Wi-Fi 6. Keep devices within range and minimize interference for reliable printing.
Quick tip: Restart your printer and computer if connections fail. This simple step resolves many glitches.
FAQ
What do I need before setting up a network printer?
Ensure your printer supports network connectivity (Wi-Fi or Ethernet). Have the IP address ready and download the latest drivers from the manufacturer’s website.
How do I automatically detect a network printer in Windows?
Open Settings > Devices > Printers & Scanners, then click Add a printer or scanner. Windows will search for available devices.
What if my printer isn’t detected automatically?
Use the manual TCP/IP method. Go to Control Panel > Devices and Printers > Add a Printer, then enter the IP address.
How do I connect a network printer on Windows 11?
Navigate to Settings > Bluetooth & devices > Printers & scanners, select Add device, and follow the prompts.
Can I share a network printer with other computers?
Yes. Open Printer Properties > Sharing, enable Share this printer, and assign a name.
Where can I find updated drivers for my printer?
Visit the manufacturer’s support website (HP, Canon, Epson, etc.) and search for your model’s latest drivers.
Why isn’t my Mac detecting the network printer?
Check if the printer is on the same network. Go to System Preferences > Printers & Scanners, click the + button, and refresh the list.


 By
By
 By
By


 By
By